Working with Sheets
Now that we've covered the types and features available in Promptly Sheets, let's walk through how to use them effectively.
Creating a New Sheet
- Navigate to the Sheets section by clicking on the "Sheets" option in the sidebar.
- Click on "+ New Sheet" to create a blank sheet.
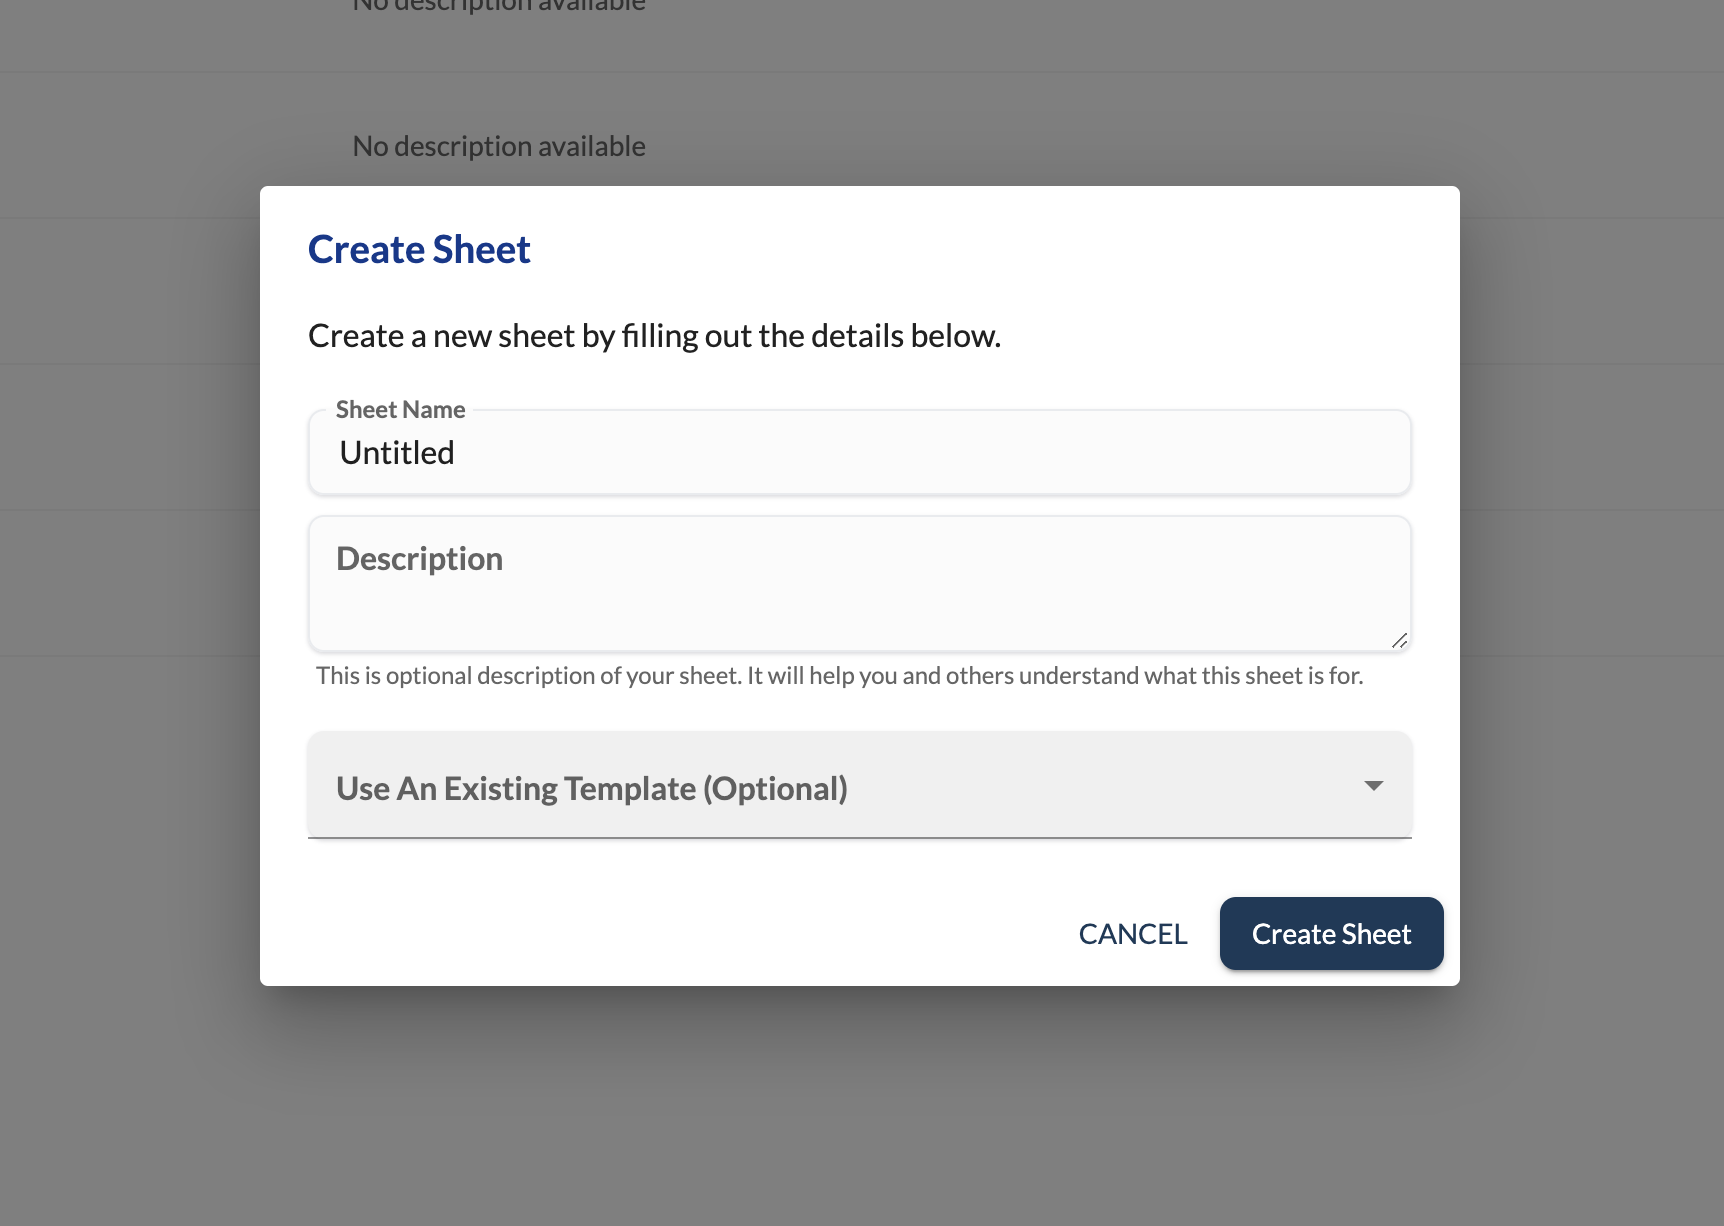
- Give your sheet a name and description.
- You can also use a template to get started with a predefined structure.

Adding and Configuring Columns
- Each sheet is creating with a list of default columns. Click on the "+" button to add a new column.
- Similar to columns in a spreadsheet, columns can be referred by their column letter (A, B, C, etc.) and rows can be referred by their row number (1, 2, 3, etc.).
- When adding a new column, you can choose the column type (Text, Number, URI, Boolean, Category, etc).
- To populate the column with data using LLMs or by transforming other columns, you can use a formula. Click on the
Populate column with formulacheckbox to add a formula to the column. - You can also change the column type later by clicking on the icon at the right side of the column header and selecting the type you want.
- Configure the column settings based on the type you've chosen.
Configuring a Processor run formula
- Select the provider (OpenAI, Anthropic etc) and the processor you want to use (e.g., Chat Completions, Image Generations etc).
- Add the input for the processor. This can be a static value or a reference to other columns in the sheet. You can use
{{ column_letter }}to reference a column's value in the current row. - Add configuration options for the processor by clicking on the "Config" tab in the modal. This can be based on the provider and the processor type.
- Configure output template. This can be based on the processor's output schema.
- Save the processor run configuration.
Configuring an App run formula
- Choose the app or LLM agent you want to use.
- Based on the app's input schema, a form will be automatically generated. You can use
{{ column_letter }}to reference a column's value in the current row and fill in the form. - Save the app run configuration.
Configuring a Data transformer formula
- Write your LiquidJS template, referencing other columns as needed.
- Save the data transformer configuration.
Working with Formula Cells
- Select a cell and click on the formula button (fx) in the toolbar. You can also right click on the cell and select "Add Formula" from the context menu.
- From the formula builder, you can select the type of formula you want to create. Processor run, App run or Data transformer are the options.
- Based on the type of formula you've selected, you'll be prompted to fill in the required fields.
- If you want the output to spread across multiple cells, check the "Spread output to cells" option. When you select this option, the output will be spread across as many cells as needed to fit the output. Make sure to use
| to_jsonor a similar filter to ensure the output is formatted correctly. - Save the formula configuration.
In formula cells, you can refer to values in a individual cell by using the cell's column letter and row number. For example, if you have a value in cell A1, you can refer to it as {{ A1 }} in a formula cell. Similarly you can refer to values in a range of cells by using the range's column letter and row number. For example, if you have a value in cells A1 to A10, you can refer to it as {{ A1-A10 }} in a formula cell. And to refer to cells across columns, you can use {{A1-B10}} to refer to cells A1 to B10.
Importing and Exporting Data
- To import data, copy the data you want to import into your clipboard, select a cell and paste the data.
- To export your sheet, click on the download icon in the top right corner. It will download a CSV file containing the sheet data.
- In order to download previous runs of your sheet, you can click on the settings gear in the header of the sheet and then click on the "Previous Runs" option. This will show you a list of all previous runs of your sheet. Click on the "Download" button to download a CSV file containing the run data.
Running Your Sheet
- Once your sheet is configured, click on the green run button in the sheet header to process all cells.
- By clicking on the same button, you can pause the running sheet.
- You can also run the sheet automatically on a schedule by clicking on the "Automated Runs" option under settings in the sheet header.
You can run only a subset of cells by selecting the cells you want to run and clicking on the run button with your CMD key pressed. You should see tooltip on run button say Run selected cells.
In the next section, we'll cover some advanced usage scenarios and tips for getting the most out of Promptly Sheets.